Edit Policy
Policies allow you to define a desired configuration state at the node or node group level. As your inventory evolves, however, you may need to edit a custom policy to reflect your most up-to-date standards. The following topic describes how to update a policy's name, description, and target configuration. To learn how to add additional checks to a policy, see Build Custom Policy.
To edit a custom policy, complete the following steps:
-
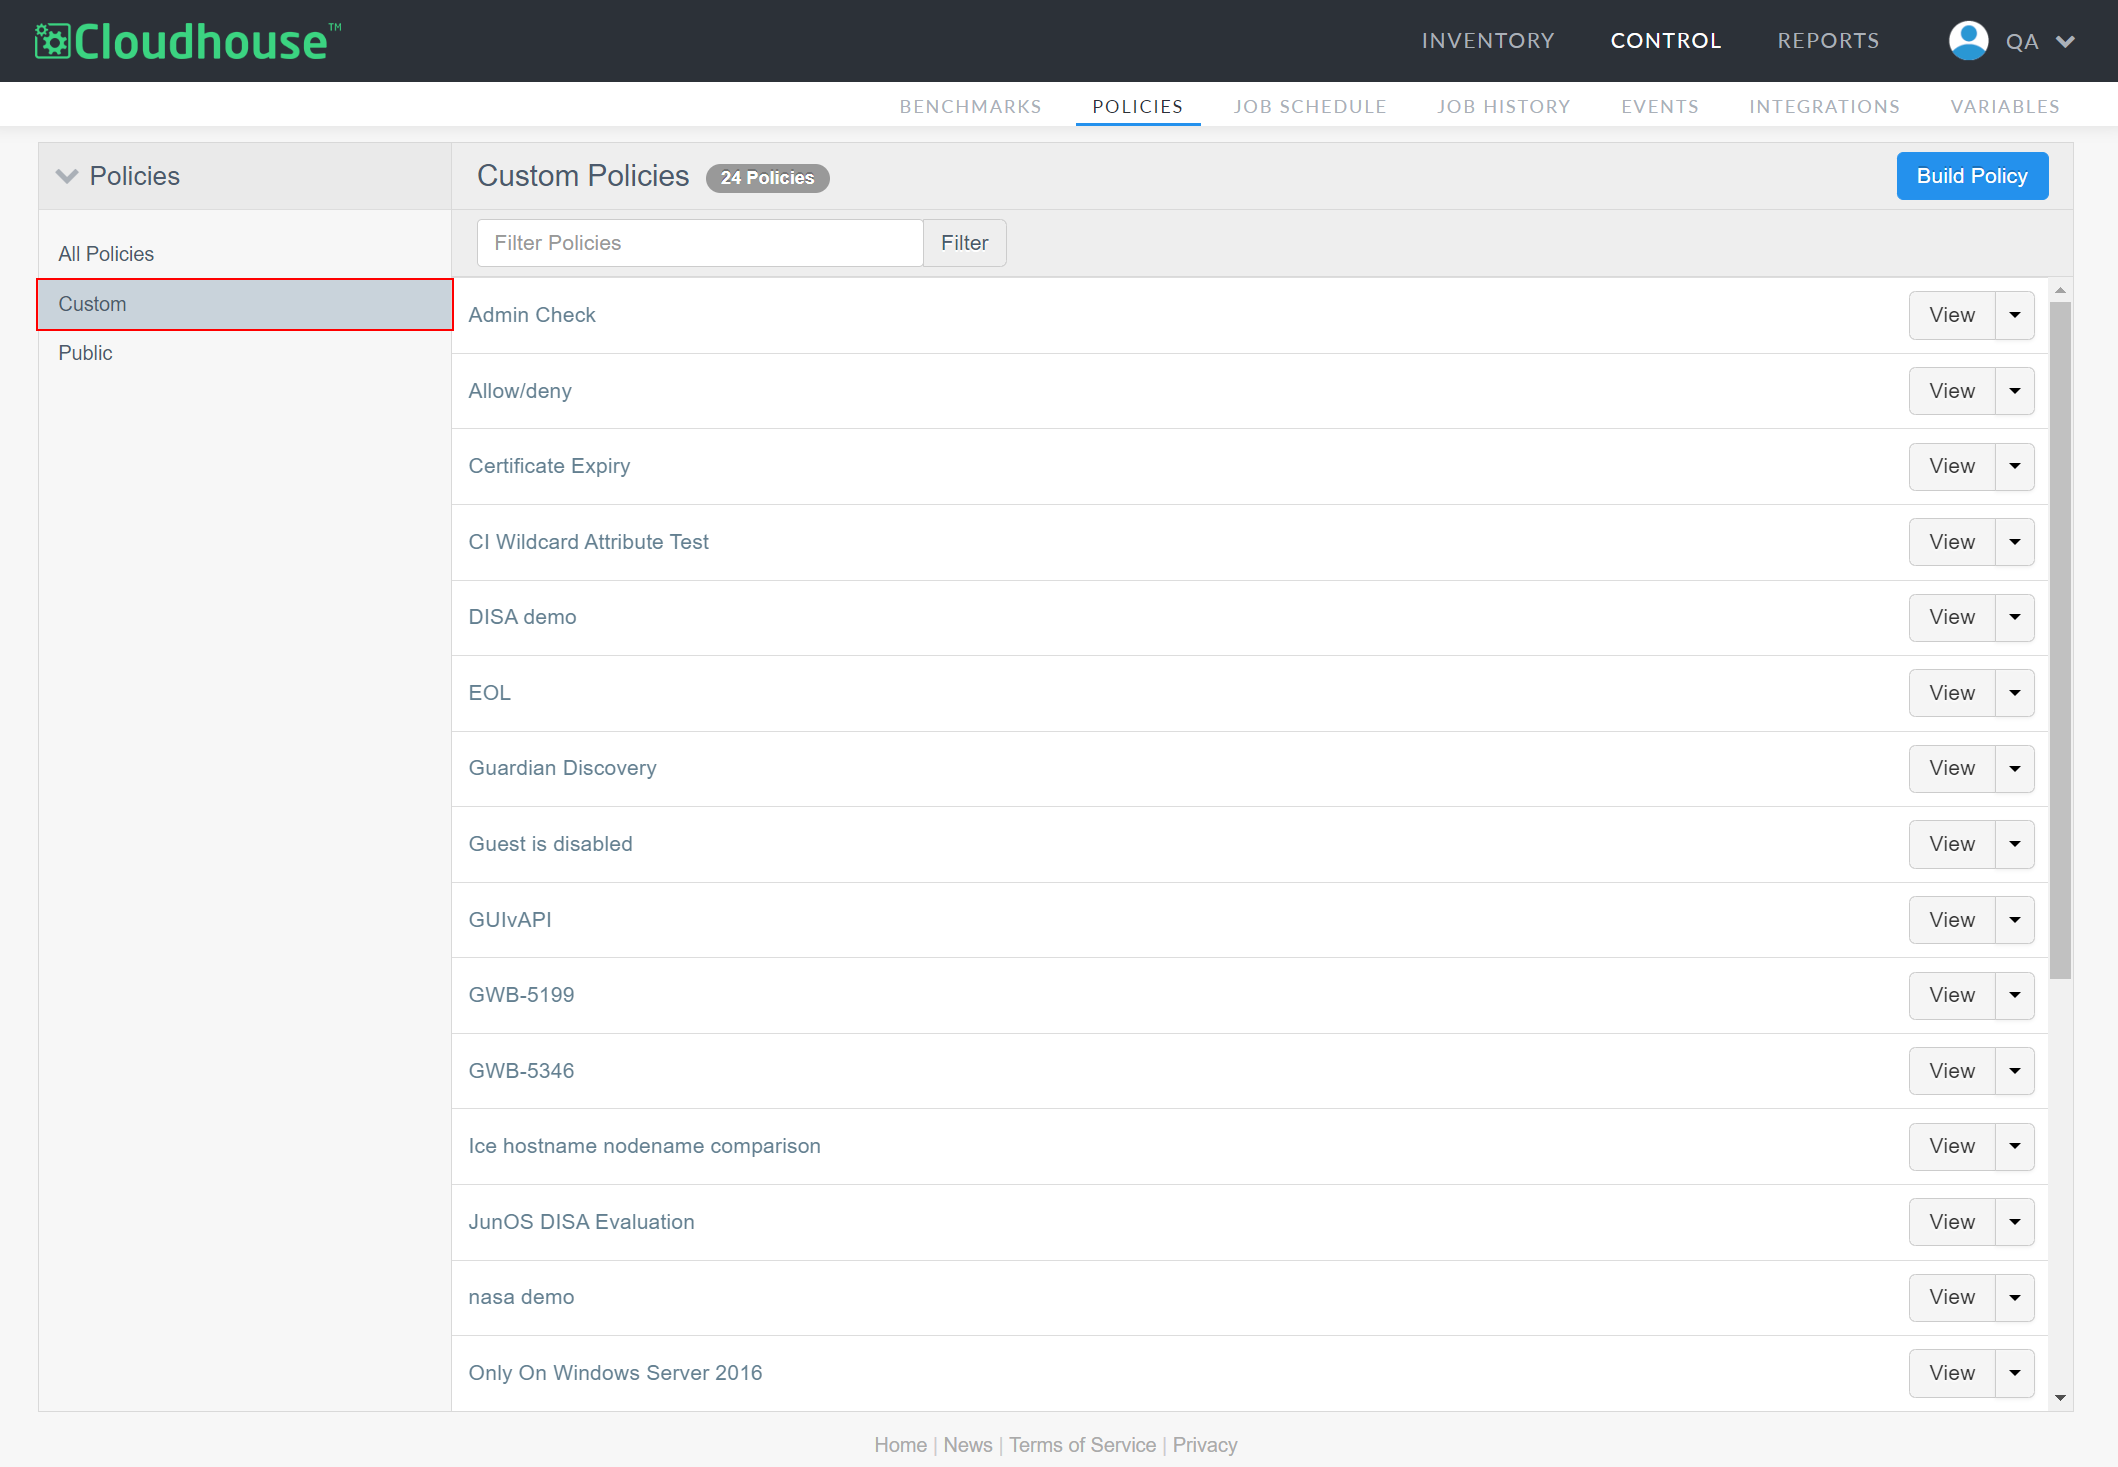
In the Guardian web application, navigate to the Policies tab (
Note: By default, the Custom tab is displayed when you click the Policies tab. This process assumes that the Custom tab has been selected, as you cannot edit public policies.
-
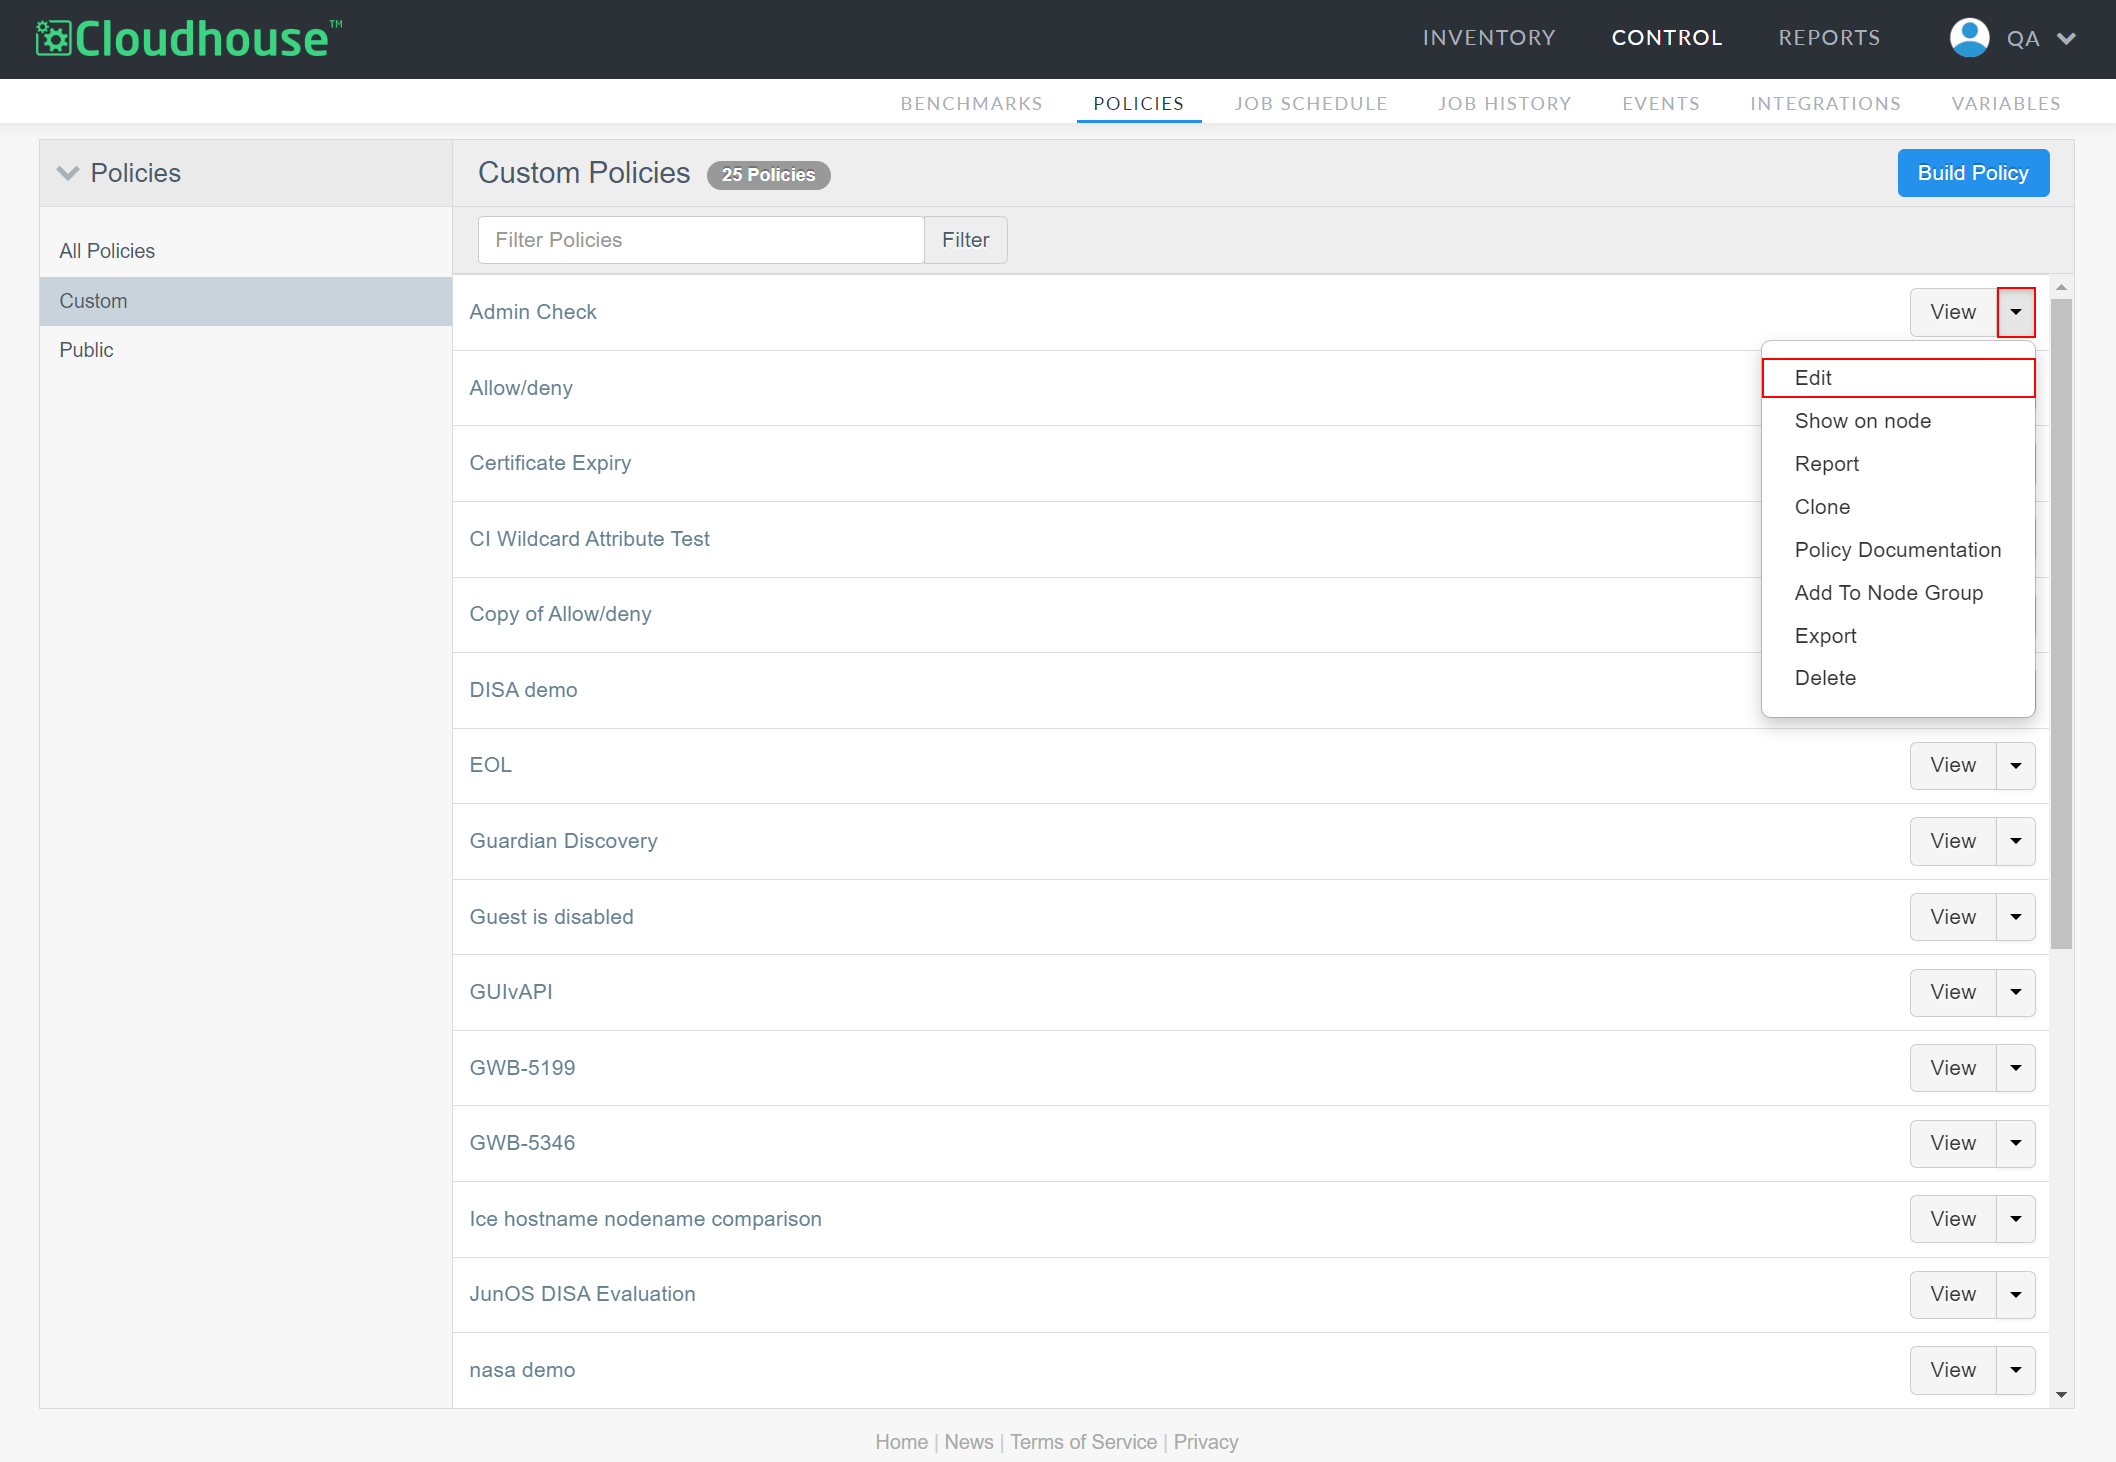
Click the View drop-down list, then select Edit. The Edit Policy page is displayed.
-
Here, the following options are displayed. Edit as required:
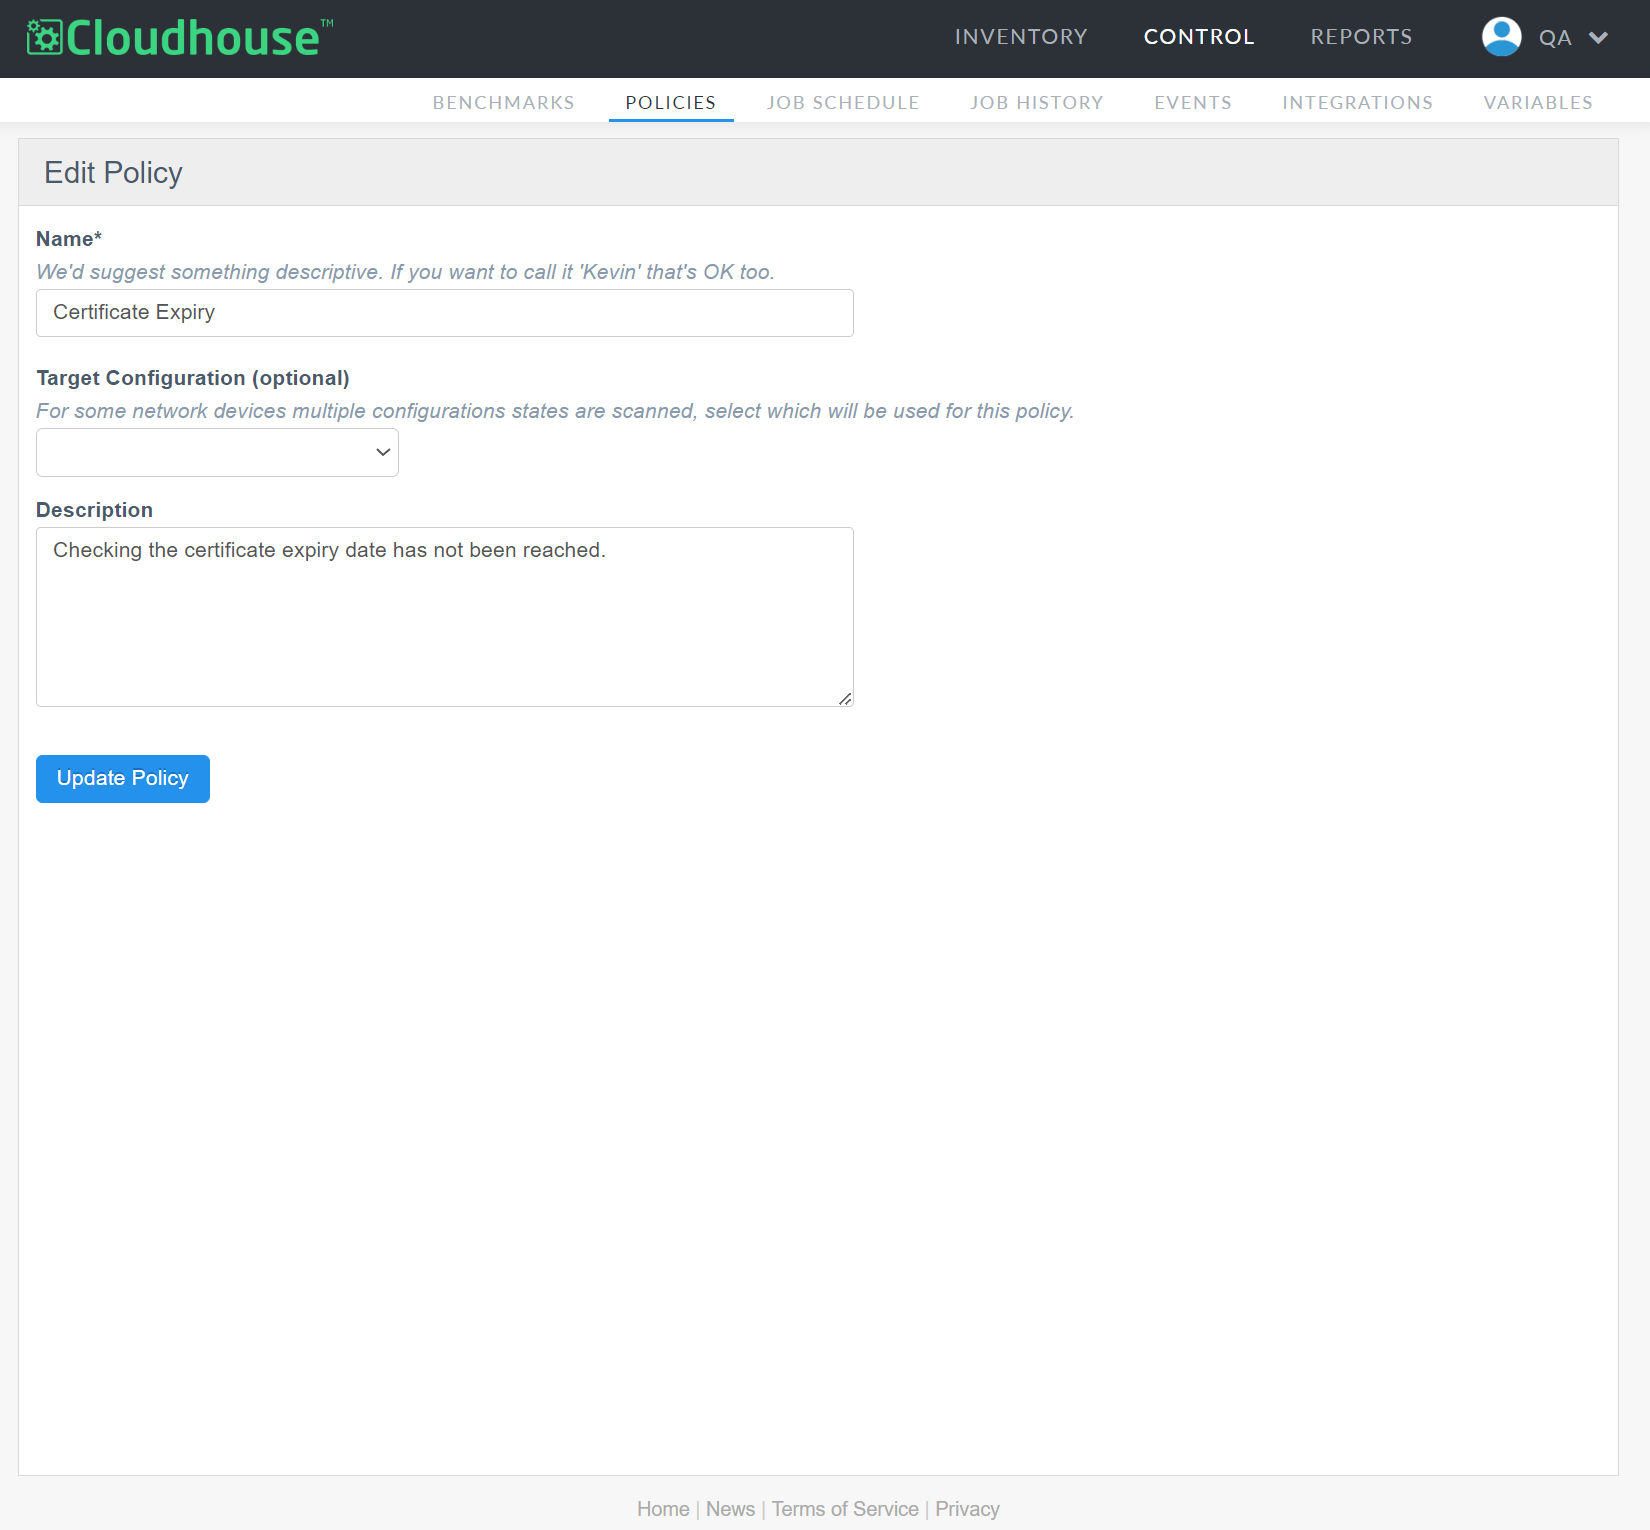
Option Description Name field The display name for the policy within Guardian. This name is how you will identify the policy among all others configured in your Guardian instance, so ensure it is descriptive. Target Configuration (Optional) drop-down list The target configuration state to be scanned for this policy.
Note: This option is only applicable for certain network devices where multiple configuration states are scanned.
The following options are available to select:
-
'Stored' – The saved configuration state.
-
'Running' – The currently active state.
-
'Merged' – The merged configuration state.
Note: This option is only applicable for devices that retrieve configuration data from multiple sources.
Description field A description of the policy checks being run. -
- Once complete, click to Update Policy. The policy is then updated and displayed.